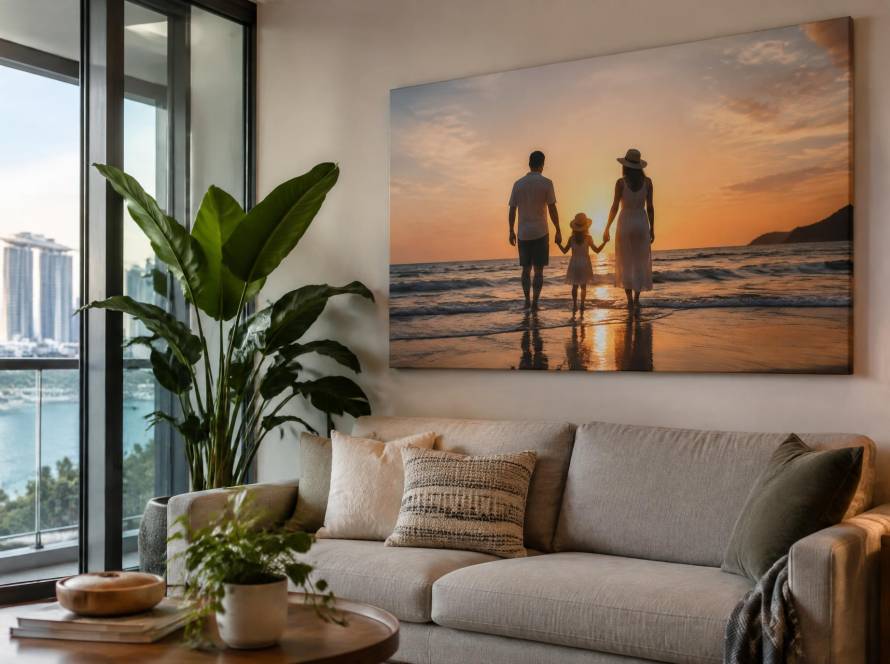
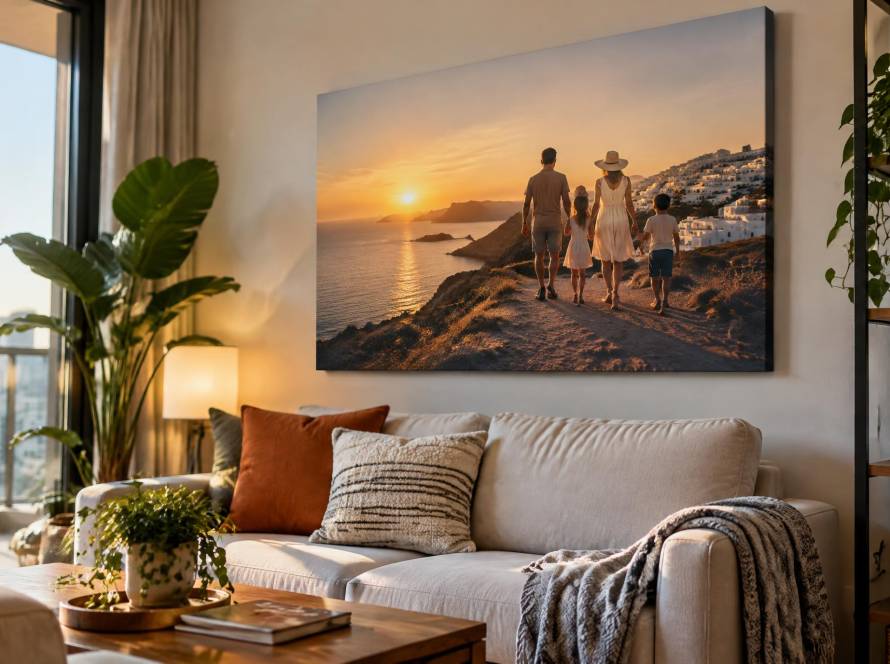
Your smartphone holds hundreds of photos—family gatherings, weekend outings, sunsets at East Coast Park. Many of them deserve more than a spot in your camera roll. With a little care, you can turn those snapshots into a photo canvas from smartphone that looks sharp and vibrant on your wall. This guide walks through the practical steps, from checking image quality to placing your order, so you get a print you’ll be proud to display.
Check Image Resolution and Quality for Enlargement
The biggest risk with printing smartphone photos is ending up with a blurry or pixelated canvas. Resolution is measured in pixels—width × height. A common rule of thumb: for a good-quality print at 200–300 DPI (dots per inch), you need at least 2000 pixels on the shorter side for a 16×20-inch canvas. Most modern smartphones (12 megapixels and above) produce images around 4000×3000 pixels, which is sufficient for medium-sized canvases up to about 24×36 inches. To check your photo’s resolution on an iPhone, open the photo, tap the info icon, and look for dimensions. On Android, use the file details in your gallery app or a free app like Photo Exif Editor. If the pixel count is too low, consider a smaller canvas size—a 12×16-inch print requires roughly 2400×3200 pixels at 200 DPI.
Composition Fixes and Cropping Strategies for Canvas Formats
Canvas prints come in standard aspect ratios—square (1:1), 4:3, 3:2, and 16:9. Your smartphone photo likely has a different ratio (often 4:3 or 16:9). Cropping is essential to avoid awkward empty spaces or cut-off subjects. Use your phone’s built-in photo editor or a free app like Snapseed to crop. Keep these tips in mind:
- Leave breathing room: Avoid cropping too close to the subject’s head or edges—canvas prints have a slight border wrap (usually 1.5 inches) that may hide part of the image if not accounted for.
- Use the rule of thirds: Place key elements along the grid lines for a balanced composition.
- Check for straight horizons: A tilted horizon is more noticeable on a large canvas. Use the straighten tool to fix it.
Colour Correction and Noise Reduction Tips on Mobile Apps
Smartphone cameras often produce images with slightly off colours—too warm, too cool, or lacking contrast. Before printing, adjust these settings using a free app like Adobe Lightroom Mobile or Snapseed:
- White balance: Use the eyedropper tool on a neutral area (white wall, grey pavement) to correct colour casts.
- Exposure and contrast: Increase contrast slightly to add depth, but avoid crushing shadows or blowing out highlights.
- Saturation: Boost by 5–10% for a more vibrant print, but don’t overdo it—canvas prints can amplify oversaturated colours.
- Noise reduction: Photos taken in low light often have grain. In Lightroom Mobile, use the Noise Reduction slider (around 20–30) to smooth it out without losing detail.
File Export Settings and Recommended Formats
When you’re done editing, export the file with these settings for the best print quality:
- Format: JPEG (most common and widely supported) or PNG for images with text or sharp edges.
- Quality: Set to 100% or maximum in your editing app.
- Resolution: Keep the original pixel dimensions—do not downscale.
- Colour space: sRGB is the standard for most printing services. Avoid Adobe RGB unless you know the printer supports it.
If your editing app offers a “Save for Web” option, skip it—it often reduces quality. Instead, use “Export” or “Save as” with the settings above.
Using Cloud Transfer or Direct Upload for Print Files
Once your file is ready, you need to get it to the printing service. Most Singapore canvas printers, including Canvas Craft, accept uploads directly through their order page. If your file is large (over 20 MB), consider using a cloud service like Google Drive or Dropbox. Upload the file, generate a shareable link, and paste it into the order notes. Avoid emailing large files—they may be compressed. For best results, upload the original file without any additional compression.
Previewing Prints and Using Mockups Before Ordering
Before you commit, visualise how the canvas will look on your wall. Many printing services offer online mockup tools where you can upload your image and see it in a room setting. Alternatively, use a free app like Canva or Adobe Express to create a simple mockup. This step helps you spot issues like:
- Cropping that cuts off important details.
- Colours that look different on screen versus print.
- Size that feels too small or too large for the intended wall space.
If you’re unsure about colour accuracy, order a small sample print first. Some services offer sample swatches or small prints at a reduced cost.
When to Re-Shoot vs When Editing Is Sufficient
Not every smartphone photo can be saved by editing. Here’s a quick decision guide:
- Re-shoot if: The photo is severely blurry (motion blur or out of focus), has heavy compression artefacts (blocky pixels), or was taken in extremely low light with excessive noise. Also re-shoot if the subject is too small in the frame and cropping would leave too few pixels.
- Edit if: The photo is sharp but has minor colour issues, slight underexposure, or a small amount of noise. Most well-lit photos from recent smartphones (iPhone 11 or newer, Samsung Galaxy S20 or newer) can be edited to print quality.
When in doubt, upload the photo to a free online resolution checker (like Printful’s DPI calculator) to see if it meets the minimum requirements for your desired canvas size.
Simple Post-Purchase Care Tips to Maintain Print Quality
Once your canvas arrives, a little care goes a long way:
- Dust regularly: Use a soft, dry microfiber cloth. Avoid water or cleaning sprays—they can damage the print surface.
- Avoid direct sunlight: UV rays can fade colours over time. Hang the canvas away from windows or use UV-protective glass if framed.
- Control humidity: Singapore’s humidity can cause canvas to warp or develop mould. Keep the room well-ventilated and avoid hanging in bathrooms or kitchens.
- Handle with clean hands: Oils from your skin can leave marks on the canvas edges.
For more inspiration on what’s possible with your photos, browse the Canvas Craft gallery to see examples of different styles and sizes.
Frequently Asked Questions
What is the minimum resolution for a 16×20-inch photo canvas from smartphone?
At 200 DPI, you need at least 3200×4000 pixels. Most modern smartphones (12 MP and above) meet this. For a 12×16-inch canvas, 2400×3200 pixels is sufficient.
Can I print a photo taken in portrait mode with blurred background?
Yes, but check the edges carefully. Portrait mode sometimes creates soft or jagged edges around the subject. If the blur looks unnatural at full size, consider using a standard photo instead.
Should I edit my photo before uploading or let the printer adjust it?
Always edit first. Printers apply basic colour correction, but they cannot fix composition, noise, or resolution issues. Your own edits give you control over the final look.
How do I know if my file will look good on a large canvas?
Use a free online DPI calculator. Upload your photo, enter the desired canvas size, and check the resulting DPI. Anything above 200 DPI is generally good; 300 DPI is ideal.
What if my photo has a watermark or timestamp?
Remove it before printing. Use a cloning tool in an editing app like Snapseed or TouchRetouch to erase it. If the watermark is in a complex area, consider cropping it out.
Ready to turn your smartphone shots into wall art? Visit the Canvas Craft sizes and prices page to find the right fit for your space, or check customer reviews to see what others have created.