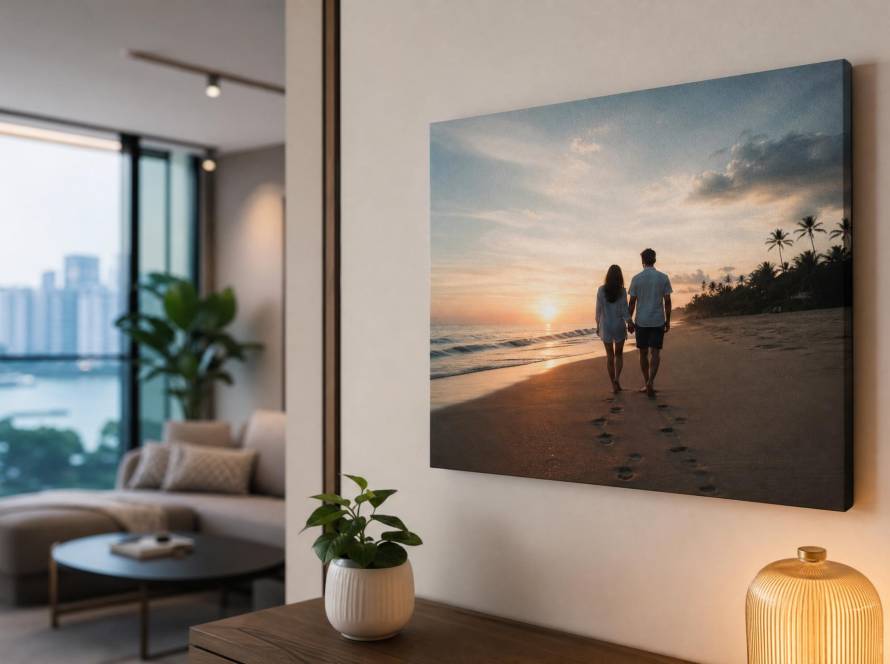
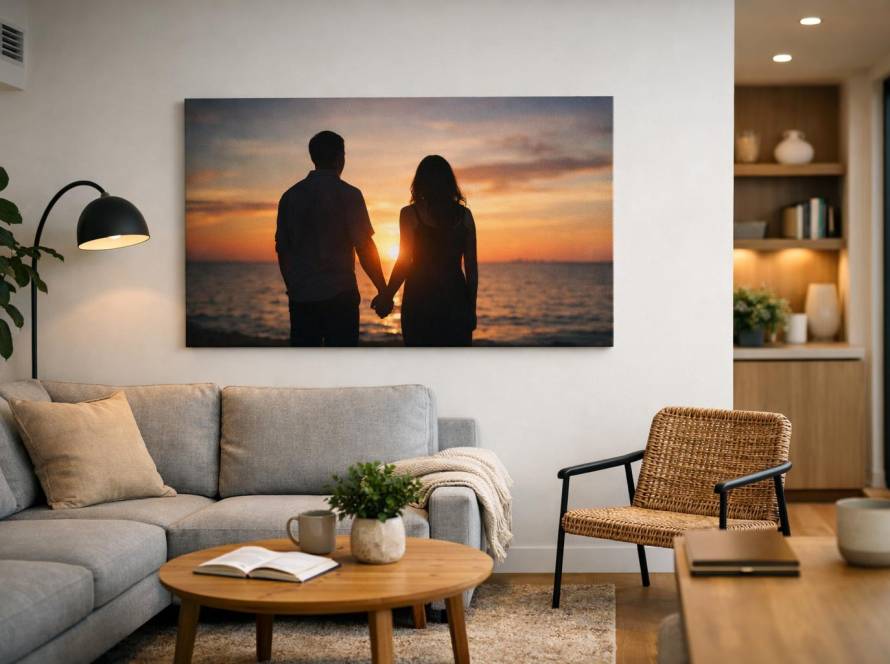
Follow a Singaporean Couple as They Transform Travel Memories into Stunning Canvas Wall Art
For most young couples in Singapore, the first few years of marriage are a whirlwind of shared experiences. For Clara and Jun Hao, both in their late twenties and living in a 4-room HDB flat in Toa Payoh, travel became their favourite language. From the neon streets of Shinjuku to the quiet lavender fields of Provence, they collected moments that were too precious to stay hidden on a phone or hard drive. This is the story of how they turned their favourite travel photos into lasting canvas wall art — and what they learned along the way.
The Couple’s Travel Background and Inspiration
Clara, a graphic designer, and Jun Hao, a secondary school teacher, started dating during university and took their first overseas trip together to Bali. “We were both broke students then, but that trip taught us that we loved exploring new places together,” Clara recalls. Over the next five years, they visited 12 countries, always prioritising experiences over souvenirs.
Back home in their compact flat, they had a large empty wall in the living room. “We wanted something personal, not the generic art you see in every furniture store,” says Jun Hao. The idea of using their own travel photography as canvas wall art felt natural. “Every time we looked at the wall, we wanted to be reminded of the fun we had, not just fill the space with decoration.”
Why Canvas, Not Frames or Digital Frames
They considered digital frames but worried about the glare from Singapore’s bright afternoon sun and the constant need to cycle through photos. Traditional framed prints felt too formal and heavy. “We wanted something warm, light, and that could handle our humidity without warping,” Clara explains. Canvas prints, particularly those from a studio that understands Singapore’s climate, offered the ideal balance of texture, durability, and easy mounting.
Initial Selection: Choosing Photos for Canvas
Selecting photos from thousands of images was the hardest part. They used a simple three-step process that any Singapore homeowner can replicate.
Step 1: Identify the Emotional Winners
They went through their Google Photos library together and starred any image that made them both smile or say “I remember that!” No technical criteria at first — just gut feeling. This gave them about 40 candidates.
Step 2: Check Image Quality for Canvas Printing
Canvas prints enlarge photos, so resolution matters. Clara checked the file sizes: they aimed for at least 5 megapixels for a 16×24 inch print. “Some older phone photos were too blurry when we zoomed in. Those we let go, even if we loved the memory,” she admits. They also considered composition — photos with too much clutter or very dark shadows wouldn’t translate well to canvas.
Step 3: Choose a Cohesive Theme for the Wall
Instead of a random mix, they decided on a “travel journey” theme: one landscape shot, one portrait of the two of them, and one close-up detail shot from a market. “We wanted variety but a consistent colour palette — mostly warm tones with some blues. That way the three canvases would look like a set,” says Clara.
They also considered sizing. Their wall was about 1.8 metres wide. They measured the space and used painter’s tape on the wall to visualise layouts. “We learned that leaving at least 5 cm between canvases makes a big difference in a smaller HDB room,” Jun Hao notes.
Designing Process: Turning Memories into Art
Once the photos were chosen, they needed to decide on the finishing details. This is where working with a professional studio made a noticeable difference.
Colour Correction and Humidity Considerations
Clara did basic colour adjustments on her laptop using free software — mostly adjusting brightness and contrast to ensure the images wouldn’t look washed out on canvas. But she deliberately avoided heavy filters. “Canvas absorbs light differently than a screen. I wanted the colours to feel natural, not artificial.”
Because Singapore’s humidity can cause paper prints to ripple over time, they chose a studio that uses a matte, UV-protective coating. “We asked about the canvas material and learned that a slightly textured, acid-free canvas with a protective spray helps prevent yellowing in our tropical climate,” Clara explains.
Choosing the Right Size and Orientation
They went with a 24×36 inch landscape for the main image (the Bali sunset), a 20×24 inch portrait for the couple shot at a Tokyo temple, and a 16×20 inch square for the close-up of Moroccan spices. “Mixing orientations kept the wall interesting without being chaotic,” says Jun Hao.
During the design phase, they also considered whether to add text or a date on the canvas. They decided against it. “The photos speak for themselves. We didn’t want to clutter the visual,” Clara says.
Using a Preview Tool
They used the online preview tool available on the Canvas Craft gallery page to see how their photos would look on different canvas depths. The 1.5-inch deep gallery wrap gave a modern, borderless look that complemented their minimalist furniture. “Seeing the mock-up on the website helped us commit to the final layout without guessing,” Jun Hao recalls.
Installation Challenges and Solutions in Compact Spaces
Installing three canvases on an HDB wall sounds straightforward, but Clara and Jun Hao hit a few snags.
Challenge 1: Uneven Wall Surface
Their living room wall had a slight texture from previous paint layers. They worried the canvases wouldn’t sit flush. “We used a level and measured twice. We also used small adhesive foam pads on the back corners of the frames to ensure they stayed flush against the wall,” Jun Hao explains.
They avoided heavy nails because they didn’t want to damage the wall. Instead, they used a combination of heavy-duty command strips for the lighter square canvas and drywall anchors for the larger landscape canvas. “We tested the strips first on a piece of cardboard to make sure they held weight. Better safe than sorry,” he adds.
Challenge 2: Lighting and Glare
Their flat faces east, so morning sunlight was strong. They placed the canvases on the wall opposite the window, but a glass coffee table was reflecting light onto the canvas surface. “We angled the canvases slightly downward using small wedges. It reduced glare and gave a more museum-like feel,” Clara says.
Challenge 3: Keeping the Layout Balanced
With three different sizes, achieving visual balance was tricky. They laid the canvases on the floor first, arranging and rearranging until the composition felt right. Then they transferred the positions to the wall using paper templates. “We left about 5 cm between each canvas. The centre of the gallery should be at eye level — about 145 cm from the floor,” Jun Hao notes.
The process took about two hours, but they were meticulous. “Once you hammer a nail, you can’t undo it easily. We’re glad we took our time.”
Final Reveal: Friends and Family Reactions
When the canvases were up, they invited a few close friends over for a simple potluck dinner. The reaction was immediate and warm. “Everyone started telling their own travel stories. The canvases became conversation starters,” Clara says.
Her mother-in-law, who initially thought canvas prints were “just another photo on the wall,” admitted she was moved. “She said it felt like she was in the photo with us. That was the best compliment,” Jun Hao adds.
Their friends from a photography hobby group were impressed by the print quality — the colour accuracy and the absence of distortion on the edges. “One friend even asked for the studio’s name. We gladly pointed her to Canvas Craft, because we were genuinely happy with the result,” Clara says.
For the couple themselves, the true joy came in the following weeks. “Every morning when I walk past the living room, I pause. It’s not just decoration; it’s our story on the wall,” says Clara.
Future Projects: What’s Next for Their Photo Canvas Collection
Inspired, Clara and Jun Hao are already planning their next canvas project. They want to create a small gallery in their hallway leading to the master bedroom. “That corridor is narrow, so we’ll use smaller canvases — maybe 12×12 inches or 10×15 inches — and hang them in a vertical line,” Jun Hao describes.
They are also thinking of ordering a multi-panel canvas for their study room. “We have a photo from our New Zealand road trip that would look amazing split into three panels. The studio offers that option, and we like how it modernises a panoramic shot.”
For gift-giving occasions, they now recommend canvas prints to friends. “For a housewarming, a canvas print of the recipient’s favourite trip is much more personal than a blender,” Clara jokes. With Singapore’s many gifting occasions — Chinese New Year, weddings, housewarmings — they see endless possibilities.
They also plan to periodically rotate photos. “We might swap out one canvas every year or two. Canvas Craft has a range of sizes and prices, so we don’t have to break the bank to keep our wall fresh,” Jun Hao says. They have already visited the sizes and prices page to estimate their next order.
FAQ
1. How many megapixels do I need for a good canvas print?
For a typical 16×24 inch canvas, aim for at least 5 megapixels. For larger prints (24×36 inches or more), 10 megapixels or higher is recommended. If you’re unsure, you can always ask the studio to check your file before ordering.
2. Will canvas prints get damaged by Singapore’s humidity?
Quality canvas prints are treated with a UV-protective, moisture-resistant coating. Choose a studio that uses archival-quality, acid-free canvas and a matte laminate. Avoid hanging canvases in bathrooms or directly in line with an air-conditioner vent to minimise moisture exposure.
3. Can I hang canvas prints without drilling holes in my HDB wall?
Yes, for smaller and medium-sized canvases (up to about 20×24 inches), heavy-duty adhesive strips designed for hanging frames can work well. For larger or heavier canvases, use drywall anchors or screws. Always check the weight rating of the adhesive strips and follow the manufacturer’s instructions.
4. How do I choose the right size canvas for my wall?
Measure your wall width and height. A common rule is that the total width of your canvas arrangement should be between 60% and 80% of the wall width. For a single canvas, a size around 24×36 inches works well in most living rooms. For multiple canvases, leave at least 3–5 cm between each piece.
5. Can I order canvas prints as a gift for someone else?
Absolutely. Many Singaporeans order canvas prints for housewarmings, weddings, or anniversaries. You can either use a photo that has special meaning for the recipient or gift a voucher so they can choose their own image. Just check the studio’s order page for gift options.
Make Your Wall Tell Your Story
Clara and Jun Hao’s project shows that creating canvas wall art from personal travel photos is not just doable — it’s deeply rewarding. The process of selecting, designing, hanging, and enjoying the art brought them closer to their memories and to each other. If you’re a Singapore homeowner, gift buyer, or casual photographer looking to bring your own adventures into your home, we hope their story inspires you to take the first step. Browse the gallery for ideas, check the sizes and prices for your next project, and when you’re ready, head over to the order page to start your own wall art journey.