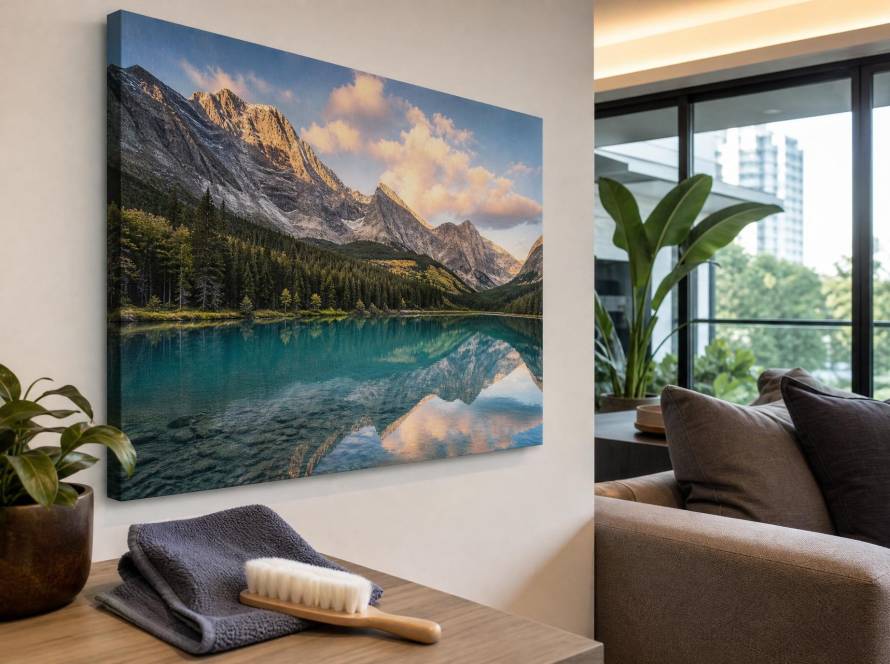
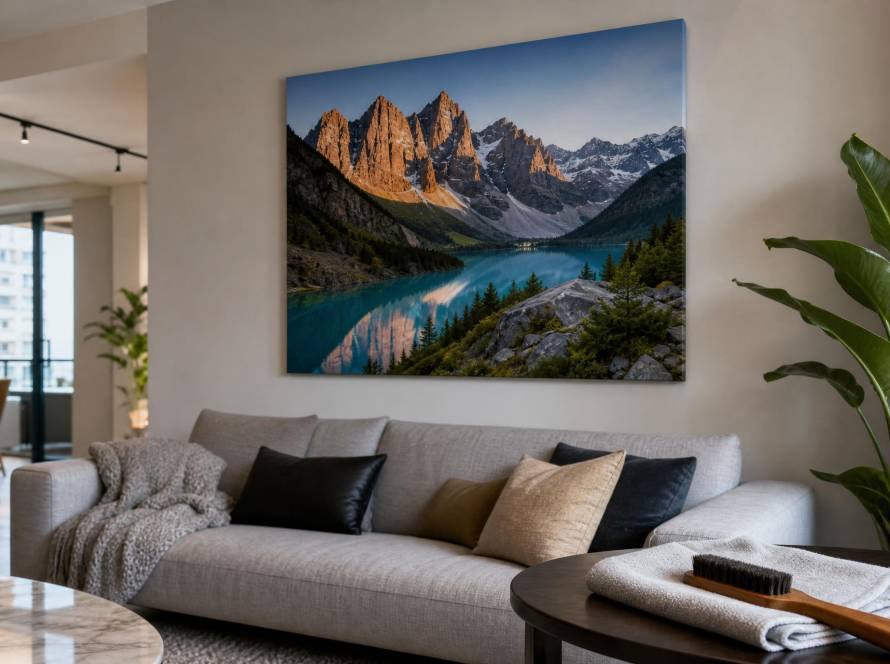
Getting a photo printed on canvas is different from sharing it on a screen or making a standard paper print. Canvas has a textured surface, absorbs ink differently, and is often viewed from a greater distance. For photographers—whether hobbyists or professionals—preparing files correctly saves time, avoids disappointment, and ensures the final piece looks as intended. This guide covers the technical steps you can take before sending your file to a canvas printing service.
File Formats and Colour Spaces
Start with the right file format. Most canvas printers prefer JPEG or TIFF. JPEG is widely accepted and keeps file sizes manageable. TIFF preserves more data and is ideal if you plan to do further editing later, but it creates larger files. Avoid sending PNG files unless the printer specifically requests them; PNGs are optimised for screen use and can cause unexpected colour shifts.
Colour space matters even more. Use sRGB for canvas printing. Adobe RGB covers a wider gamut, but many consumer printers and online ordering systems assume sRGB. If you send an Adobe RGB file without converting it, colours may appear dull or shifted. Convert your file to sRGB before exporting. If your editing software allows it, embed the colour profile so the printer knows exactly what you intended.
Resolution and Pixel Dimensions
Canvas prints are typically viewed from a few feet away, so you do not need the same resolution as a fine-art paper print held in hand. A good rule of thumb is 150 to 200 PPI (pixels per inch) at the final print size. For a 24×36-inch canvas, that means the image should be at least 3600×5400 pixels (at 150 PPI).
Check your image dimensions before ordering. If your file is too small, the print will look soft or pixelated. If it is much larger than needed, you can downsample without losing visible quality. Most online ordering systems will warn you if the resolution is too low. Do not rely on upscaling tools to fix a small file—they add detail that may look artificial on canvas texture.
Bleed, Safe Area, and Crop Considerations
Canvas prints are stretched over a wooden frame, so the edges wrap around the sides. This means part of your image will be hidden or distorted on the sides. To avoid losing important content, leave a bleed area of about 1.5 to 2 inches beyond the final visible area. Keep any critical elements—faces, text, logos—well inside the safe zone, typically the central 80% of the image.
If you are cropping the image yourself, use the printer’s recommended aspect ratio. Common canvas sizes include 4:3, 3:2, and 1:1. If your image does not match, you will have to decide whether to crop or add borders. Cropping is usually cleaner than leaving uneven white edges.
Sharpening and Noise Reduction for Large Prints
Canvas texture softens fine detail slightly, so a modest amount of sharpening helps the image pop. Apply sharpening after resizing the image to the final print dimensions. Use a method like Unsharp Mask or Smart Sharpen with a low radius (0.5–1.0 pixels) and moderate amount. Over-sharpening creates halos that look worse on canvas than on glossy paper.
Noise reduction is equally important. Grain that looks fine on a screen becomes more noticeable on a large canvas. Apply noise reduction selectively—only to areas where it matters, like skies or skin tones—and avoid blurring edges. If your image was shot at high ISO, consider using a dedicated noise-reduction plugin before exporting.
Soft-Proofing and Test Prints
Soft-proofing lets you preview how colours will appear on canvas before you print. In software like Adobe Lightroom or Photoshop, you can simulate the printer’s colour profile. This helps catch out-of-gamut colours that will look muddy. If you are printing a critical image—a wedding portrait or a client’s product shot—consider ordering a small test print first. Many canvas printing services offer sample prints or small sizes that let you check colour and sharpness without committing to a large order.
Test prints are especially useful when you are trying a new printer or a different canvas type. Compare the test print to your screen under good lighting, and adjust your file accordingly.
Embedding Metadata and Handling Copyrights
Embedding metadata (EXIF data, copyright notice, contact info) is a good habit. It does not affect the print quality, but it protects your work if the file is shared or reused. Most editing software lets you add copyright information in the File Info panel. If you are sending files to a printing service, include a brief note in the metadata or in the order instructions stating your copyright terms.
For photographers selling prints through a service, watermarking the preview file is common, but remove the watermark from the final print file. Canvas texture can make watermarks look messy if they are not removed.
Communicating with Your Printer
Every printer has slightly different requirements. Before sending a large batch of files, check the printer’s guidelines. Key questions to ask or look up:
- What file formats are accepted?
- What colour profile should I use?
- Is there a minimum resolution?
- Do they offer a proof before printing?
- What is the turnaround time?
If you are working with a service like Canvas Craft, their website typically lists these details. When in doubt, contact them directly. A quick email can save you from reprinting an entire batch.
Common Issues and How to Diagnose Them
Even with careful preparation, problems can arise. Here are frequent issues and likely causes:
- Colours look washed out: The file was likely in Adobe RGB or ProPhoto RGB and not converted to sRGB. Check the embedded profile.
- Image looks soft or blurry: Resolution was too low, or sharpening was applied before resizing. Re-export at the correct PPI.
- Important content is cut off: The image did not have enough bleed or safe area. Reposition the crop.
- Noise or grain is visible: High ISO noise was not reduced. Apply noise reduction to the final resized file.
- Edges show white lines or uneven wrap: The image dimensions did not match the canvas aspect ratio. Use the printer’s template or add bleed.
If you are unsure, ask the printer for a digital proof or a small test print before committing to a large order.
Final Checklist Before Uploading
Before you hit upload, run through this quick checklist:
- File format: JPEG or TIFF, sRGB colour space.
- Resolution: At least 150 PPI at final print size.
- Bleed: 1.5–2 inches extra around edges.
- Safe area: Critical elements inside central 80%.
- Sharpening: Applied after resizing, moderate amount.
- Noise reduction: Applied selectively.
- Metadata: Copyright and contact info embedded.
- Proof: Test print ordered if needed.
Following these steps will help you get consistent, professional-looking canvas prints. For more guidance, explore the resources for photographers or check the FAQ for common questions.
Frequently Asked Questions
What is the best file format for canvas printing?
JPEG is the most widely accepted format. TIFF is also fine if you want to preserve maximum data, but file sizes are larger. Avoid PNG for printing.
Do I need to convert my photos to sRGB?
Yes. Most canvas printers expect sRGB. If you send an Adobe RGB or ProPhoto RGB file, colours may appear dull or shifted. Convert to sRGB before exporting.
How much resolution do I need for a large canvas?
Aim for 150 to 200 PPI at the final print size. For a 24×36-inch canvas, that means at least 3600×5400 pixels.
Should I sharpen my image before sending it?
Yes, but apply sharpening after resizing to the final dimensions. Use a low radius (0.5–1.0 pixels) and moderate amount to avoid halos.
What should I do if my image has visible noise?
Apply noise reduction selectively to areas like skies or skin tones. Avoid blurring edges. Do this after resizing and before sharpening.
For more details on sizes and pricing, visit the sizes and prices page. If you are ready to order, head to the order page.