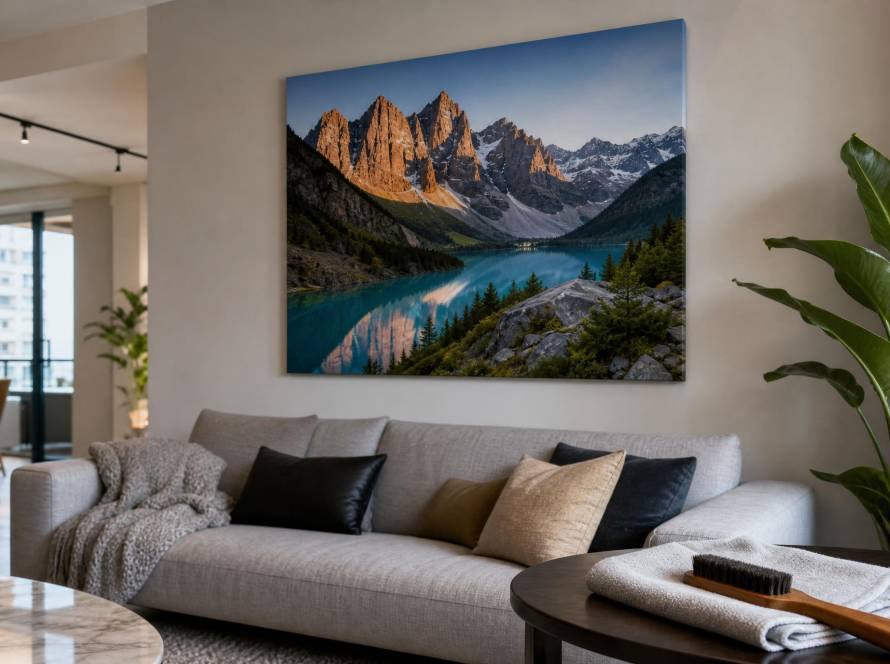
Singapore’s skyline is one of the most photogenic in the world. From the reflected lights of Marina Bay to the warm glow of Chinatown’s shophouses, a well-captured nightscape can become a striking canvas print for your home. But not every night photo translates well to canvas. The challenge lies in balancing technical camera settings with the needs of the printing process. This guide covers practical, verifiable steps to help you capture and prepare nightscape images that reproduce cleanly and sharply on canvas prints.
Camera Settings to Prioritise for Nightscapes
Getting a clean nightscape starts before you press the shutter. For canvas printing, you need a file that retains detail in shadows and highlights without excessive noise or blur. Here are the settings to focus on.
Compression, Noise Reduction and RAW Workflows for Canvas Output
Shoot in RAW format. JPEG applies in-camera noise reduction and compression, which can produce blocky artefacts when enlarged. RAW gives you full control over noise reduction and sharpening later. Use a tripod — it’s non-negotiable for nightscapes. Set your ISO to the lowest native value (usually ISO 100 or 200). With a steady tripod, you can use longer shutter speeds (8–30 seconds depending on light) without introducing noise. Enable long exposure noise reduction in-camera if you have time — it takes the same length again to process, but the result is cleaner for canvas output.
If you must shoot handheld (e.g., from a moving vantage point), keep ISO at 800 or lower and use the widest aperture your lens allows. Accept that some noise might remain; you can reduce it in post-production without sacrificing too much detail.
Choosing Colour Balance and White Balance for City Lights
Nightscapes have mixed light sources — warm street lamps, cool LED displays, and fluorescent shop lights. Auto white balance often produces inconsistent results. Set a custom white balance around 3200K–4000K for a balanced look that retains the golden tone of Singapore’s street lights without turning the sky orange. Alternatively, shoot in Kelvin mode and adjust in post-production. When editing, avoid over-correcting for colour casts — a slight warmth in Chinatown’s lantern-lit streets or a cool blue in Marina Bay’s Supertrees adds mood. For canvas prints, aim for a neutral sky (not green or magenta) and let the city lights provide the colour.
Cropping and Aspect Ratio Choices for Common Canvas Sizes
Canvas Craft offers standard sizes like 40x60cm, 50x75cm, and 60x90cm, which correspond roughly to 2:3 aspect ratio. Frame your shot with this in mind. A 3:2 ratio from a full-frame camera fits these sizes without cropping. If you shoot with a 4:3 or 16:9 sensor, plan to crop 15–25% of the image. You can also choose square or panoramic options — for example, a 60x40cm canvas suits a landscape crop. When composing, leave extra space at the edges for framing adjustments. For HDB or condo living rooms with 2.6m–2.8m ceilings, a horizontal 60x40cm canvas works well above a sofa; for narrower walls like corridors in BTO flats, vertical 30x45cm prints are practical.
Preparing Files for Canvas Printing: Resolution and Sharpening
Canvas printing requires a resolution of at least 150 DPI (dots per inch) at the output size. For a 60x40cm canvas (approx. 24×16 inches), that’s a minimum of 3600×2400 pixels. Most modern cameras exceed this, so downsampling is rarely an issue. Do not upscale aggressively — it introduces artefacts. Apply sharpening specifically for canvas: canvas texture diffuses sharpness slightly, so add a moderate amount (e.g., 50–70% sharpening in Lightroom with radius 0.7–1.0). Avoid oversharpening, which creates halos. For noise reduction, use a light hand — canvas grain masks low levels of noise naturally.
Previewing Prints: Soft-Proofing and Test Strips
Before uploading your file, soft-proof it in a photo editor. Set your monitor to Adobe RGB or sRGB (canvas printers typically use sRGB). Simulate the canvas profile (your photo lab can provide one) to see how shadows and highlights will compress. Canvas has a narrower dynamic range than glossy paper — deep blacks may look slightly lighter. If your nightscape has very dark areas (e.g., Marina Bay at midnight), lift the shadows by 5–10% in editing. For important prints, request a test strip from your printer — Canvas Craft offers sample prints for colour checking. This is especially useful if you’re printing a gift for a friend’s housewarming or a client’s office.
Case Examples: Marina Bay and Chinatown Nightscape Workflows
Marina Bay Sands and Supertrees
Location: Waterfront Promenade, tripod at 1.2m height. Settings: ISO 100, f/8, 15 seconds, white balance set to 3500K. The result captures the reflection in the bay without blown-out lights on the Supertrees. In post-production: cropped to 3:2 to fit a 60x90cm canvas. Adjusted exposure by +0.3EV to keep shadows visible in the water. Applied mild sharpening (60%, radius 0.8) and no noise reduction. The final file was 6000×4000 pixels, easily covering the required resolution. This image now hangs in a client’s condo living room, where ambient light from the balcony complements the cool tones.
Chinatown Street Scene at Night
Location: Smith Street, handheld due to crowds. Settings: ISO 800, f/2.8, 1/30 second, white balance set to 3200K. The warm lantern light captured naturally. In post-production: noise reduction set to 20% to smooth out the shadows in shop doorways. Cropped to a square 1:1 ratio for a 40x40cm canvas frame. Sharpened at 50% with a small radius (0.5) to preserve detail in the lantern patterns. Printed on matte canvas, the image retained the lively atmosphere without looking over-processed. This print was given as a gift for a friend’s renovation completion — a common occasion for Singapore homeowners.
If you are new to preparing files, visit Canvas Craft’s gallery to see examples of how different nightscapes appear on canvas. The gallery includes shots from various local photographers and can give you a reference for what works.
Additional Tips for Singapore Context
Singapore’s humidity (70–80% year-round) does not affect the print itself, but it can cause canvas to sag over time if not stretched properly. Choose a printer that uses a solid stretcher frame and UV-protective coating if the canvas will be near a window. For HDB flats with air conditioning, this is less of a concern. If you are gifting a canvas for occasions like Chinese New Year, Deepavali, or a housewarming, allow 5–7 working days for printing and delivery. Canvas Craft offers a range of sizes suitable for standard condo and HDB wall dimensions — check their sizes and prices page for exact specs.
FAQ
Can I use a smartphone photo for a canvas nightscape?
Yes, if the photo is at least 12 megapixels (4032×3024 pixels) and shot in RAW or a high-quality JPEG mode. Avoid using digital zoom. For best results, shoot with a tripod and use a manual camera app to control ISO and shutter speed.
How do I avoid blurry nightscape photos?
Use a tripod and a remote shutter release or the camera’s self-timer. If shooting handheld, use a lens with image stabilisation and a shutter speed no slower than 1/30s. For long exposures, enable mirror lock-up (on DSLRs) to reduce vibration.
What file format should I upload for canvas printing?
Upload a TIFF or high-quality JPEG (quality 10–12) in sRGB colour space. Avoid PNG for large prints as it may produce larger file sizes without quality benefits. Ensure the image resolution matches the canvas size (150 DPI or higher).
Will the canvas print look exactly like my screen?
Not exactly — canvas has a textured surface that diffuses light slightly, making highlights less bright and shadows less deep. Soft-proofing your image and requesting a test strip can help you adjust expectations. Most Singapore printers, including Canvas Craft, calibrate their machines to minimise colour shift.
How should I hang a canvas nightscape in a humid home?
Choose a well-ventilated wall away from direct sunlight and moisture sources (e.g., air conditioner vents, open windows). Use the provided hanging hardware and ensure the canvas is taut. If your home is particularly humid, consider a frameless canvas with a UV protective coating to reduce fading over 5–10 years.